| You are here: Home > How to Put DVD/Video on iPod, PSP, Computer, Zune, Xbox on Mac |
How to Put DVD/Video on iPod, PSP, Computer, Zune, Xbox on Mac |
|
|
What you can do: |
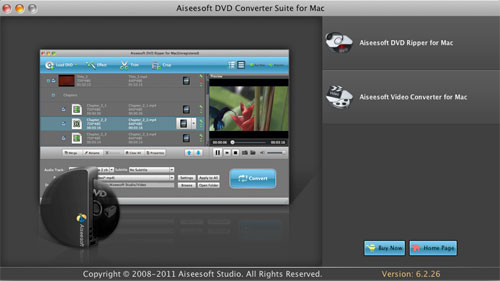
Aiseesoft DVD Converter Suite for Mac allows you to convert any DVD and videos to MP4, AVI, MOV, MKV, WMV, DivX, XviD, MPEG-1/2, 3GP, 3G2, VOB… video formats, and MP3, AAC, AC3…audio formats.
It is everything you need to rip your DVD videos and convert your video files on Mac OS X for iPhone, iPod, Apple TV, Zune, Xbox 360, PS3, iRiver, Sony Walkman, Nokia, Creative Zen, Archos, PMP, Smart Phone, Pocket PC, cell phone, MP4 player, MP3 player, and many other video and audio players.
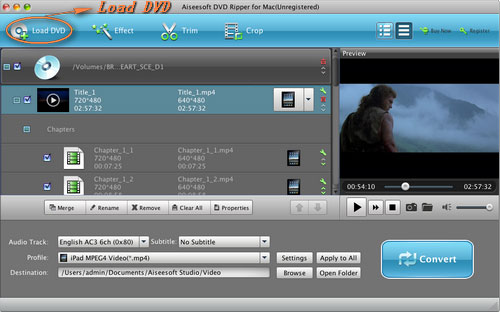
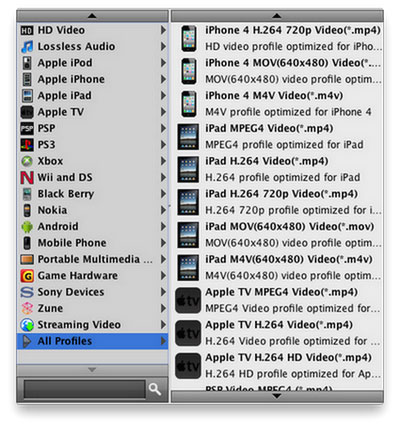
Learn how to put your DVDs and videos on your iPod, PSP, Computer, Zune, Xbox and other players for Mac users.
|
|
Tips: |
1. Trim:
If you want to rip only a part of the DVD movie, please click “Trim” button and drag the “Start trim slider” to set the start time and “End trim slider” to set the end time. (a). You can also do that by clicking the “Start trim button” and “End trim button”(b). The third way you do that is set the exact Start/End time at the right of the pop-up window and click “OK”.

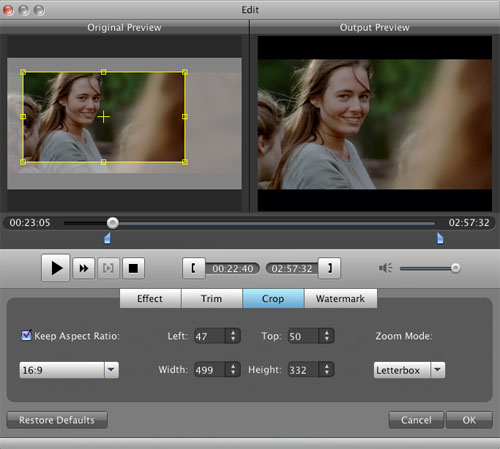
2. Crop:
If you want to remove the black edges or you want to rip a certain area of your video, please click the “Crop” button. You can do this either by drag the frame around the movie (a) or set the crop value: “Top, Left, Bottom, Right”.(b). Another way to do that is choose mode from “Crop Mode”(c).
DVD Ripper for Mac also allows you to choose the output aspect ratio above the crop panel, “Keep Original, full screen, 16:9 and 4:3” are available.
3. Effect:
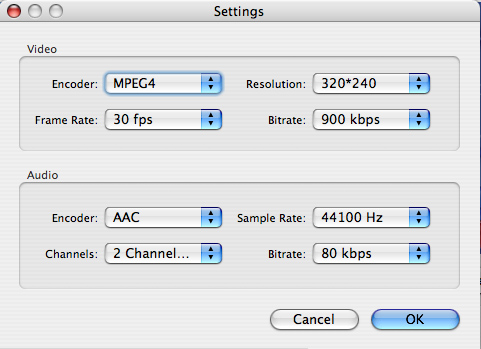
If you want to adjust the effect of your movie, please click the “Effect” button and a pop-up effect window will appear. It allows you to edit your movie’s effect including “Brightness, Contrast, Hue, Saturation and Volume”.
Click “Start” to begin your conversion. |
|
|